
J-Pouch Creation
I’ve been going through a series on the J-Pouch to help patients better understand what it is and what life with one is like. In continuing with the series, I decided to write a post about the creation of the J-Pouch. Maybe I’m strange, but I am extremely interested in every last detail of how it is done, so I did a little research. Which turned into a LOT of research. Before I get into it, please see my previous blog posts about J-Pouches:
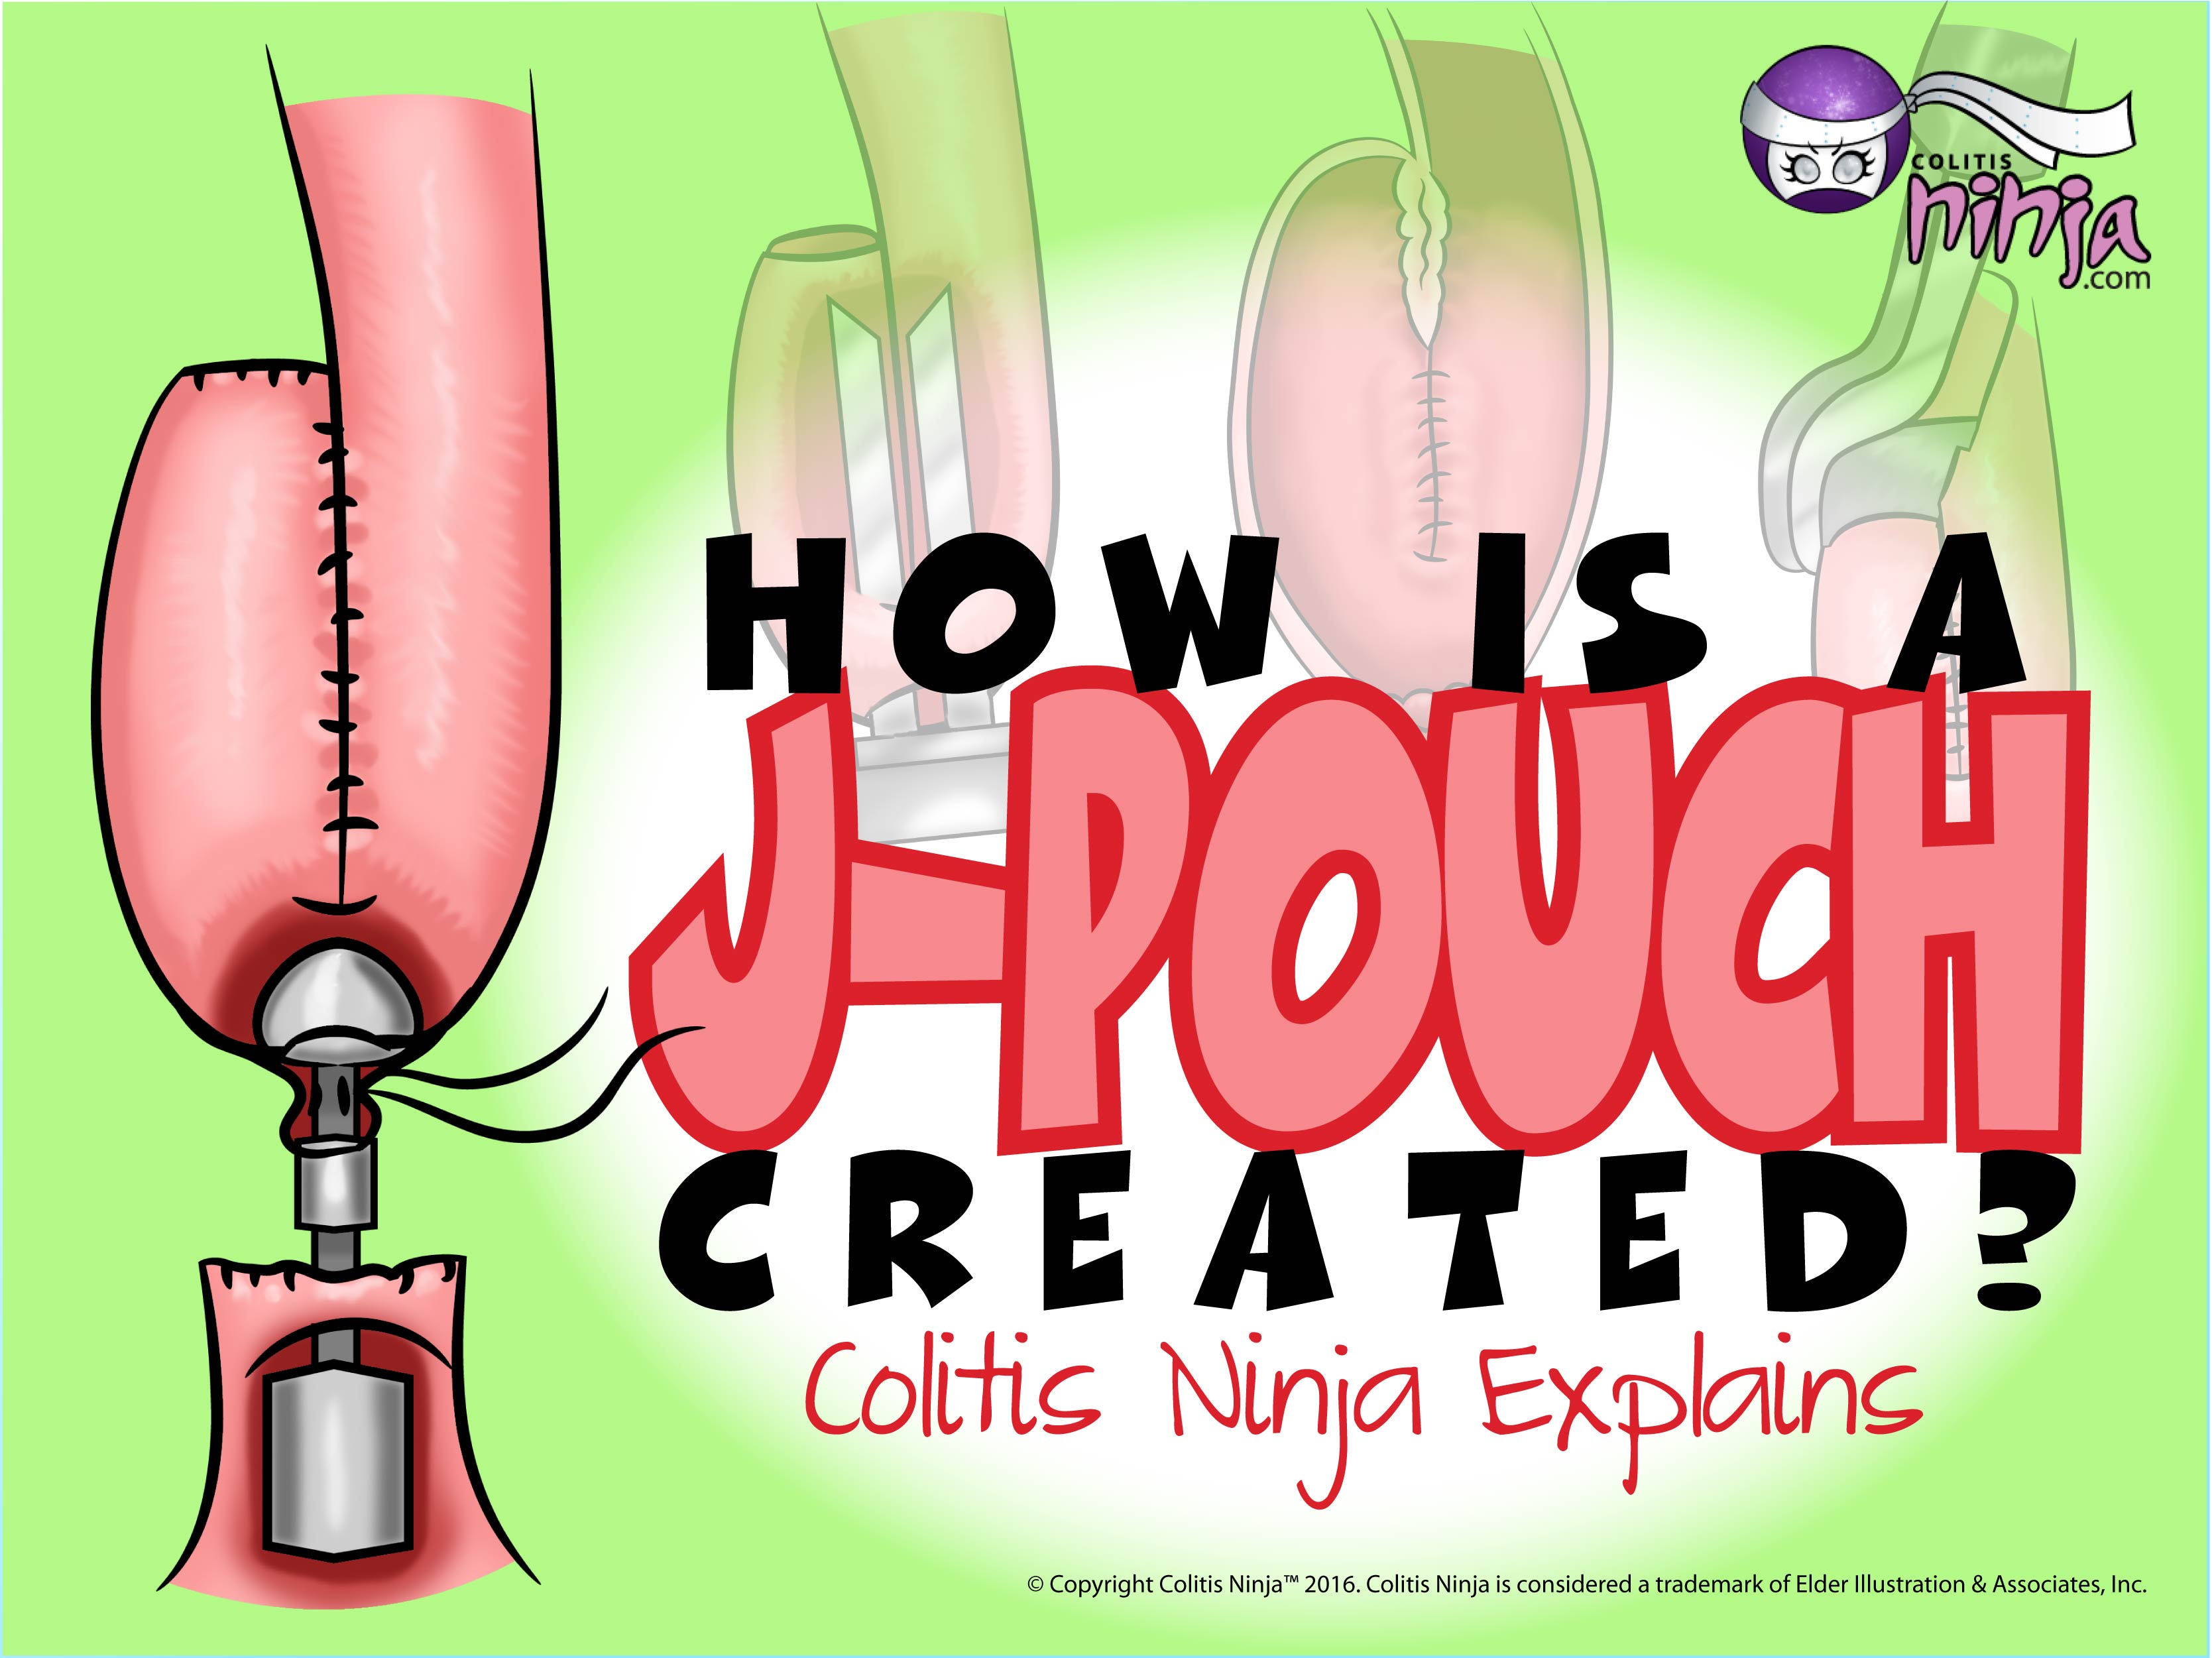
So, how is a J-Pouch created?
 While the J-Pouch construction remains basically the same, the procedure itself can be performed in 1, 2 or even three stages. The number of stages depends on several factors such as the health of the patient and experience of the surgeon.
The first thing a surgeon does after slicing you down the middle (or making multiple smaller incisions as per laparoscopic or key-hole surgery) is mobilize the colon. Which basically means the surgeon cuts the colon free of all the connective tissues such as blood vessels and mesentery.
After that, the surgeon makes a cut at the end of the ileum (or small intestine) with the TLC 75 stapler which both cuts and staples at the same time. Another cut is made using the PI-30 stapler and scalpel at the anal transition zone (ATZ), which is the area between the rectum and the anus. This allows for the surgeon to connect the J-Pouch to the anus while keeping the anal sphincters in tact.
When the colon, rectum and appendix are removed, the terminal ileum is folded up to form the “J”. The apex of the J-Pouch is opened and the TLC stapler is inserted into the J-Pouch and “fired.” In doing so, the stapler makes an incision and simultaneously staples the J-Pouch together forming the reservoir that holds the stool. After that, the end of the “efferent limb” of the J-Pouch is stapled shut.
The anvil, part of the 25 ECS stapler, is inserted into the apex of the J-Pouch and secured with a suture. Then the scope of the 25 ECS stapler is inserted transanally and “closed.” A round of staples is fired and then “opened” and removed transanally.
The final step in the creation of the J-Pouch is to check for any leaks by “insufflating” the pouch with air. Once this is determined, the surgeon moves to the next step in the surgery process. Not every surgeon performs this procedure, but to me, it seems like the wisest course of action as leaks can lead to infections.
Stages
One Stage
In the one stage operation, the colon, appendix and rectum are removed and the J-Pouch is created and sewn to the anus. There are no temporary ostomies created. Surgery Time: 4-5 hours
Two Stage A
- The colon, appendix and rectum are removed and the J-Pouch is created and sewn to the anus. A temporary diverting or “loop” ileostomy are created allowing the J-Pouch to heal and “mature” before use. This helps prevent infection especially in patients who are already immunocompromised. Surgery Time: 4-5 hours
- This surgery takes place at least six weeks after the first surgery. The ileostomy is “taken down” and your abdomen is sutured up. Surgery Time: 1-3 hours
Two Stage B
- The colon and appendix are removed and the anus and rectum are left. A temporary ileostomy, also known as the Brooke ileostomy, is created. Surgery Time: 2-3 hours
- This surgery is performed at least six weeks after the first surgery. In this procedure, the rectum is removed and a J-Pouch is created and attached to the anus. Surgery Time: 4-5 hours
Three Stage
- The colon and appendix are removed and the rectum is left in tact. A temporary end ileostomy is created. Surgery Time: 2-3 hours
- This operation is performed about 6 weeks after the first operation. The rectum is removed and a J-Pouch is created and sewn to the anus. Then a temporary loop ileostomy is created. Surgery Time: 4-5 hours
- About six weeks after stage two, the ileostomy is taken down and the abdomen is sutured up. Surgery Time: 1-2 hours

So there are the details about how it’s all done. My surgery was done in two stages (Two Stage A). If you are interested in reading more about my personal surgery, click here. Until next time, thanks for reading and as always, please feel free to contact me any time!
